iOS14で導入された機能で、NavigationViewの上部、または下部のツールバーにボタンやテキストを配置することができます。
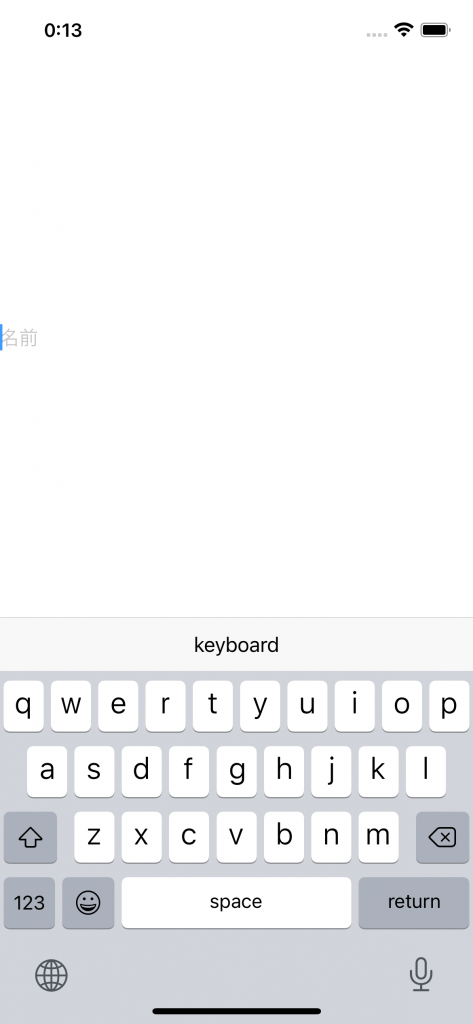
また、iOS15では表示位置に keyboard を指定することができるようになり、ソフトウェアキーボードのツールバーにウィジェットを配置することができるようになりました。
公式ドキュメント: https://developer.apple.com/documentation/swiftui/modifiedcontent/toolbar(items:)
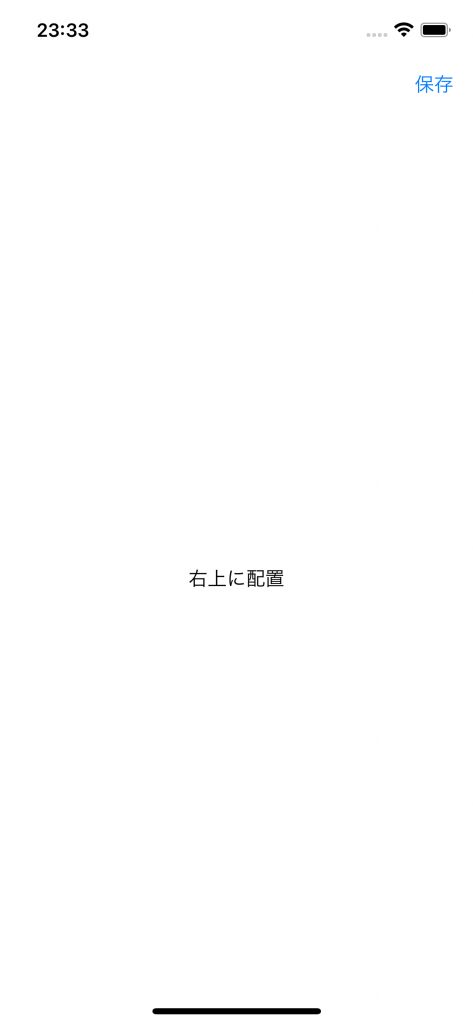
上部右端にボタンを配置する
NavigationView {
    Text("右上に配置")
        .toolbar {
            Button {
                print("...")
            } label: {
                Text("保存")
            }
        }
}
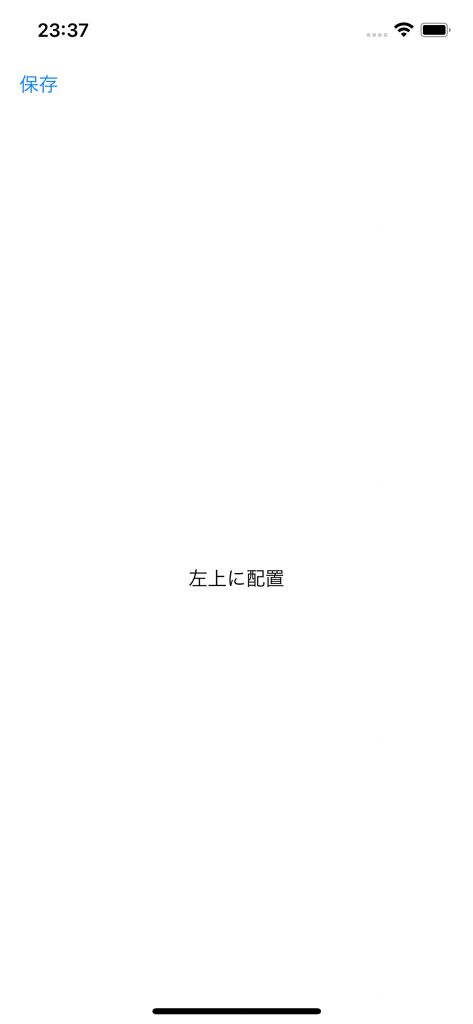
上部左端にボタンを配置する
ToolbarItem の placement で位置を指定します(デフォルトは右上)
NavigationView{
    Text("左上に配置")
        .toolbar {
            ToolbarItem(placement: .navigationBarLeading) {
                Text("leading")
            }
        }
    }
}
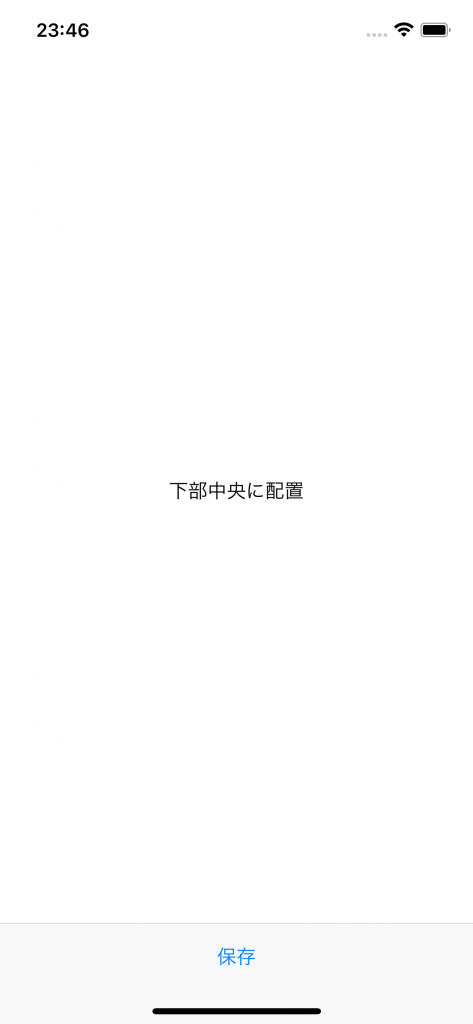
下部中央にボタンを配置する
Text("下部中央に配置")
    .toolbar {
        ToolbarItem(placement: .bottomBar) {
            Button {
                print("...")
            } label: {
                Text("保存")
            }
        }
    }
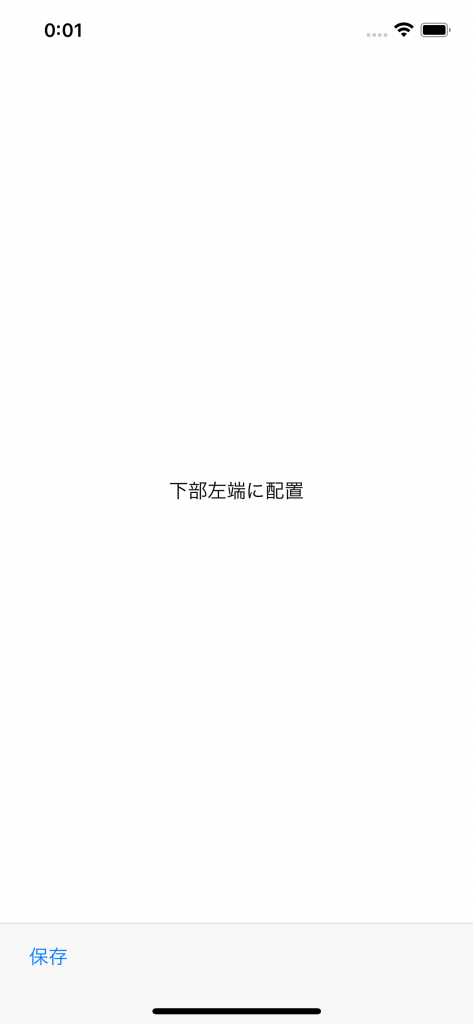
下部左端(または右端)にボタンを配置する
Spacer を使用します。Toolbar に複数のウィジェットを配置する場合は ToolbarItemGroup を利用すると便利です。
Text("下部左端に配置")
    .toolbar {
        ToolbarItemGroup(placement: .bottomBar) {
            Button {
                print("...")
            } label: {
                Text("保存")
            }
            Spacer()
        }
    }
右端に表示する場合は Button の下にある Spacer() を上に移動させるだけです。
ちなみに ToolbarItemGroup なしだと下記のように書きます。
Text("下部左端に配置")
    .toolbar {
        ToolbarItem(placement: .bottomBar) {
            Button {
                print("...")
            } label: {
                Text("保存")
            }
        }
        ToolbarItem(placement: .bottomBar) {
            Spacer()
        }
    }
キーボードの上にカスタムヘッダーとして表示する
struct ContentView: View {
    @State var text: String = ""

    var body: some View {
        TextField("名前", text: $text)
            .toolbar {
                ToolbarItem(placement: .keyboard) {
                    Text("keyboard")
                }
            }
    }
}